Putting A Roof In Revit

Adding A Roof In Revit Youtube

Revit Tutorials Roofs Youtube

Creating Complex Roof In Revit Architecture Hip Roofs Youtube

10 Common Roof Shapes Modeld In Revit Tutorial Youtube

Revit Roof Basics 10 Slope Arrow Cadclips Youtube

Customize A Roof Assembly In Revit Youtube

On the draw panel click line.
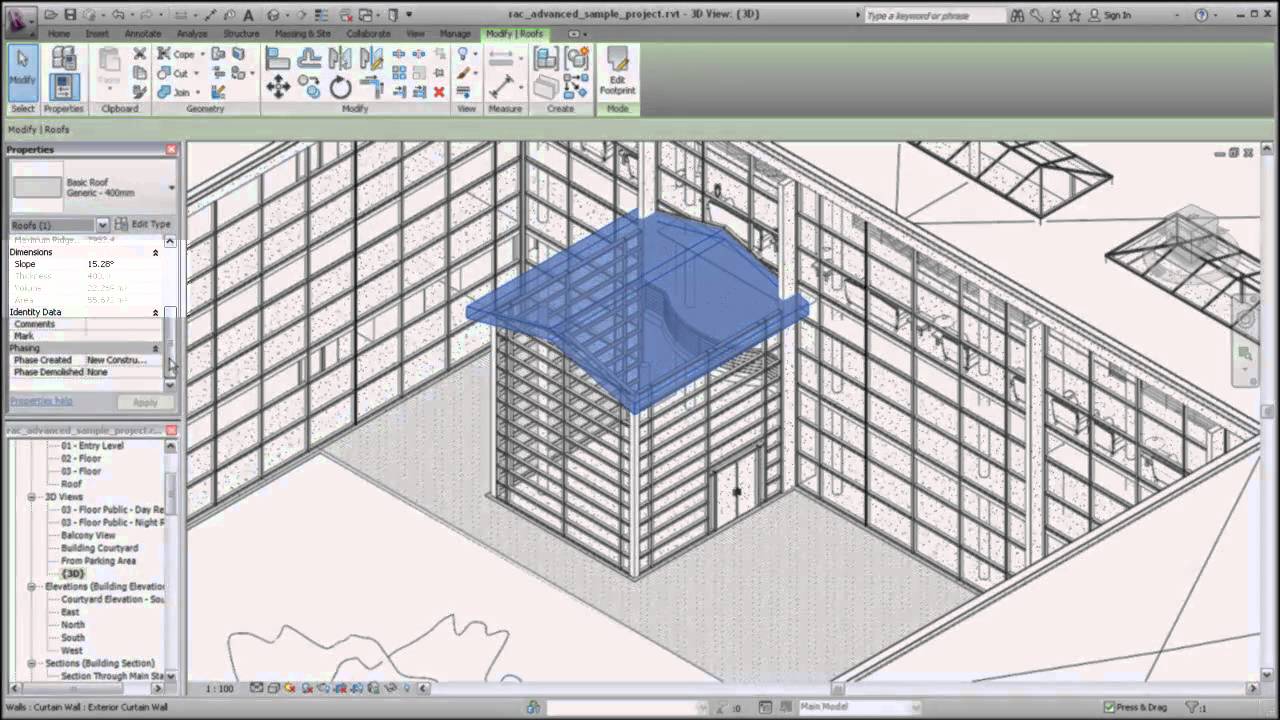
Putting a roof in revit.
3 Complex Roof Shapes In Revit Youtube
Autodesk Revit Architecture Creating A Sloped Roof Youtube

Various Basic Roofs In Revit Youtube

Drawing A Dormer In Revit Youtube
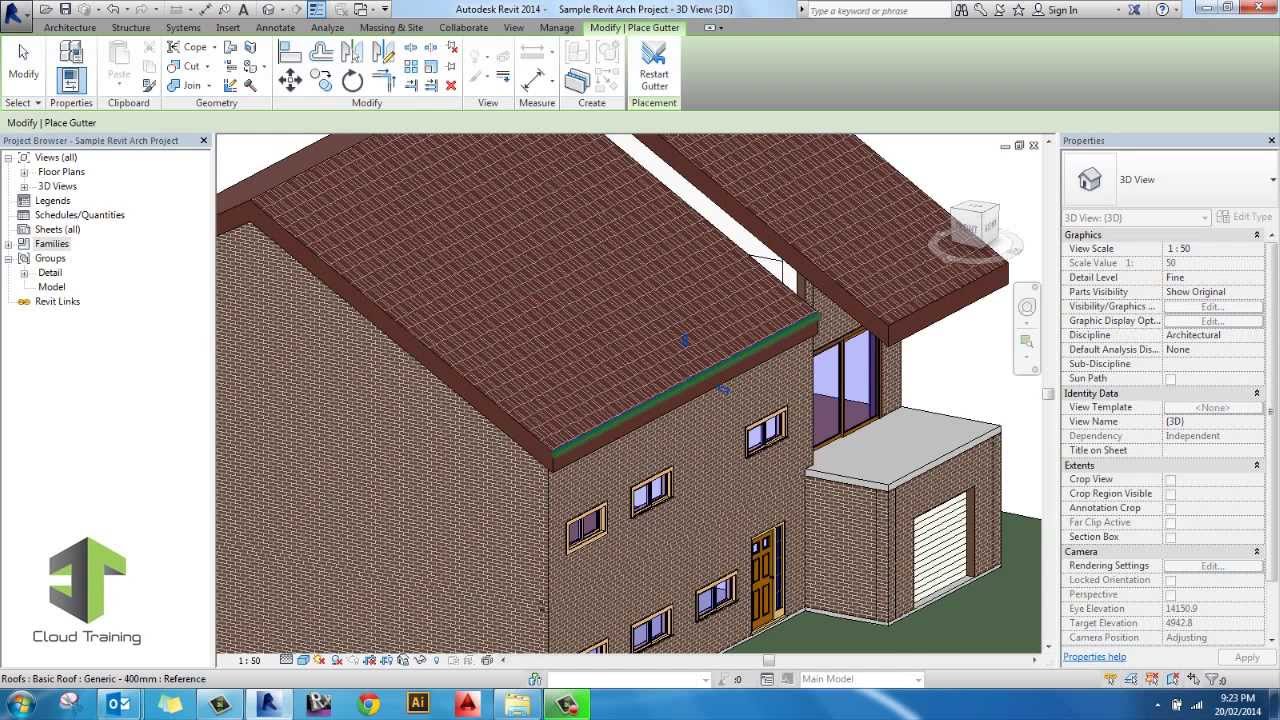
Adding Creating Gutters Youtube

Adding Dormer Window To A Sloping Roof Youtube

Revit Roof Finishing Adding Soffit Fascia Gutter Youtube

How To Add Roof Truss Underneath Roof In Revit Youtube

Flat Roofs In Revit Tutorial Youtube

Create Roof Trusses With Purlins In Revit Youtube

How To Create A Thatch Roof In Revit Micrographics Thatched Roof Thatch Roof

Adding Gable Roof Vents

Revit 2018 Soffit And Fascia Tutorial Youtube

Revit Tutorials Skylights Youtube

Revit 2017 Cool Gable Roof Tip Cadclip Youtube

Create A Complete Roof With Tiles In Revit Youtube

Revit Roof Tip 1 Remove Slope To Create Flat Roof Youtube

Vitral A74 Roof Glazing As Bim Object For Revit Youtube
Https Encrypted Tbn0 Gstatic Com Images Q Tbn 3aand9gcqt Jag1pa Hofhz 59fqg8i0feamtfelr0xlmsrdq6chiqvxbg Usqp Cau

Adding A Flat Roof Material

Revit Tips Creating Rafters With Beam System Youtube

Adding A Mansard Roof

Autodesk Revit Corrugated Sheeting Youtube

How To Add A Roof In Revit Architecture Youtube
Source : pinterest.com
