Quick Diy Pitched Roof With Tarps

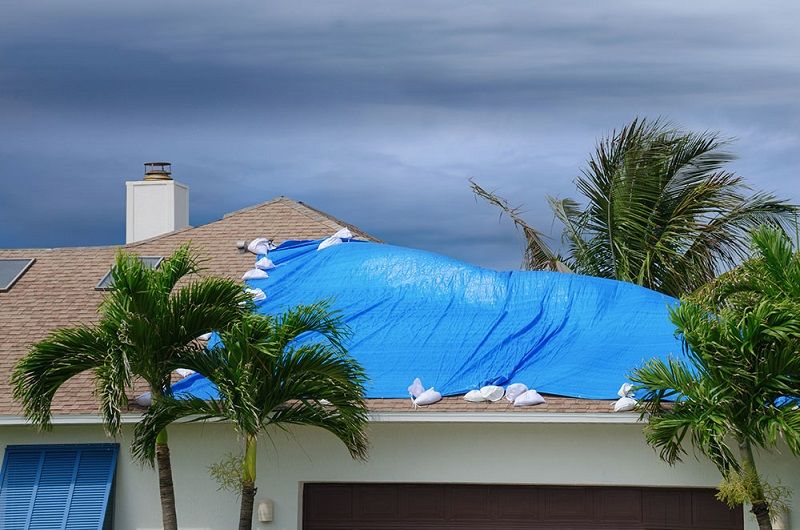
Install A Blue Tarp On A Roof Diy In A Hour

How To Cover Your Roof After Storm Damage Hunker

Creative Shelters Pvc And Tarp Shade Tent Patio Backyard Shade Outdoor Shade Shade Tent

Make Your Own Dyi Dog Kennel Roof Cover In 2020 Diy Dog Kennel Dog Pen Outdoor Dog Kennel Roof

How To Tarp A Roof After A Hurricane My Winter Haven Fl

How To Make A Tarp Tent 25 Designs

Using more 2 x 4 s nail down the tarp s sides.
Quick diy pitched roof with tarps.

Diy Tarp W Doors Pattern Tarps Pattern Diy

How To Waterproof Your Shed Roof With An Epdm Shed Roof Kit Fast And Easy To Install Youtube

Simple Awning For A Shed Using A Black Tarp Duct Tape Furring Strips To Create An Awning For Her Shed Diy Awning Outdoor Curtains Diy Outdoor Awnings
What If I Didn T Want To Use Tarp To Repair My Calgary Ab Roof

How To Tarp A Roof The Home Depot

Diy Tarp Camping Canopy Youtube Canopy Outdoor Diy Canopy Camping Canopy

Flat Roof Repair Options Costs And Diy Repair Guides Cool Flat Roof

Imgur Survival Shelter Wilderness Survival Outdoor Survival

Image Result For Tarp Awning Over Car Without Roof Rack Suv Camping Truck Camping Truck Bed Camping
How To Tarp A Roof Without Nails Contractor Quotes

Patio Cover Awning Tarp For Shade Diy Diy Patio Cover Backyard Shade Patio Shade

Turn Your Old Ripped Target Gazebo Into This Replacement Diy Gazebo Patio Gazebo Gazebo Roof

How To Tarp A Roof Like A Pro Grizzly Tarps Blog

Pin By Starlight Mundy On We Shall Burn Tent Canvas Tent Diy Diy Teepee Tent

Bikepacking Hacks Bikepacking Com Bikepacking Tarp Shelters Camping Hacks Diy

Don T Hire An Expensive Contractor Use These Tips For Caring For Your Roof Instead Home Roofing Tips Gutters How To Install Gutters Roofing

How To Build A Rooftop Deck With A View Some Considerations Rioeuteamo Net Building A Patio Roof Deck Rooftop Deck

Sewing Project Diy Silnylon Tarp For Ul Camping 700ml Bottle Size 230g Myog Camping Tarp Diy Camping Diy Tent
Https Encrypted Tbn0 Gstatic Com Images Q Tbn 3aand9gcqhb7ffttswzcd5bnmttwzlb2ltnhgsraaqv1abzyggrzzoka9a Usqp Cau

Guide To Get Tarpaulin Shed Roof Detect Shed Firewood Storage Firewood Shed Storage

Hosted Site Search Discovery For Companies Of All Sizes Roof Top Tent Diy Roof Top Tent Tent Camping
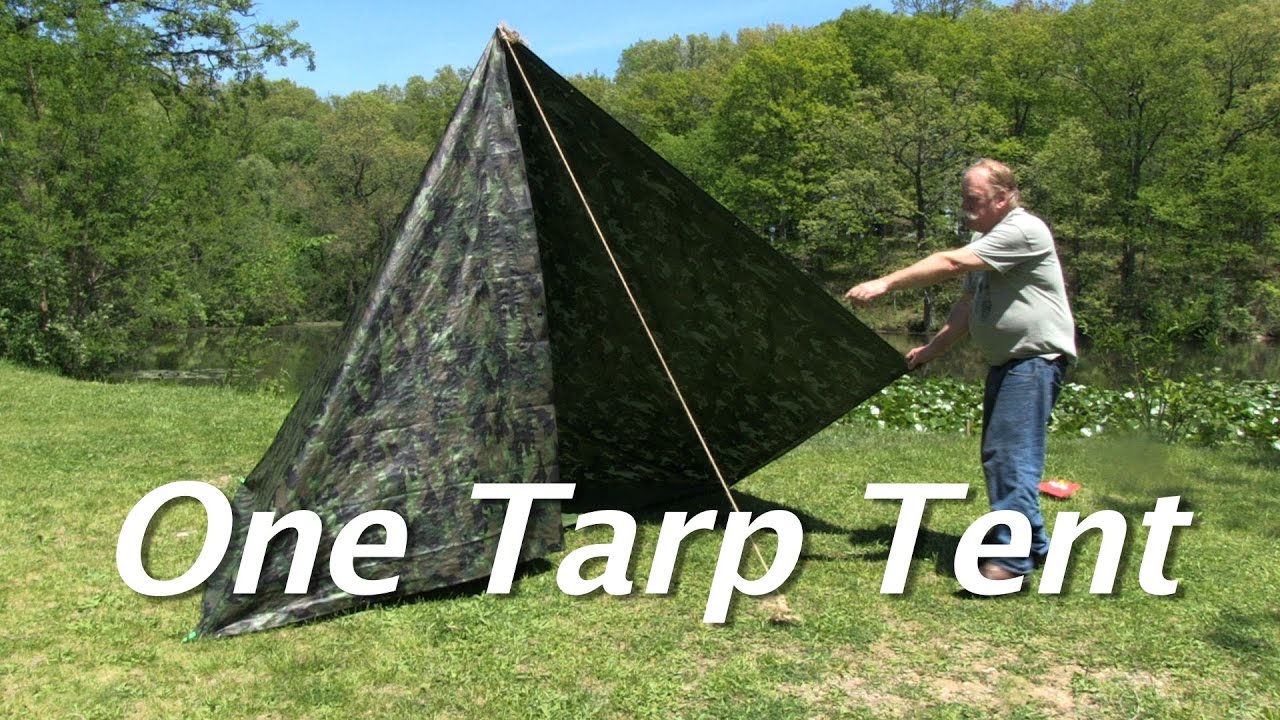
One Tarp Tent Make A Simple Tent With A Floor And A Door For 15 Youtube

Rain Tarp Design Best Tents For Camping Camping Lights Camping In The Rain

Building A Shelter Out Of Pallets Horse Shelter Livestock Shelter Pallet Barn
Source : pinterest.com
